Achieve professional-quality results in no time!
inPixio's user-friendly interface is ideal for beginners. No experience required.
Get access to affordable yet advanced photo editing features.
Choose your preferred photo editing experience
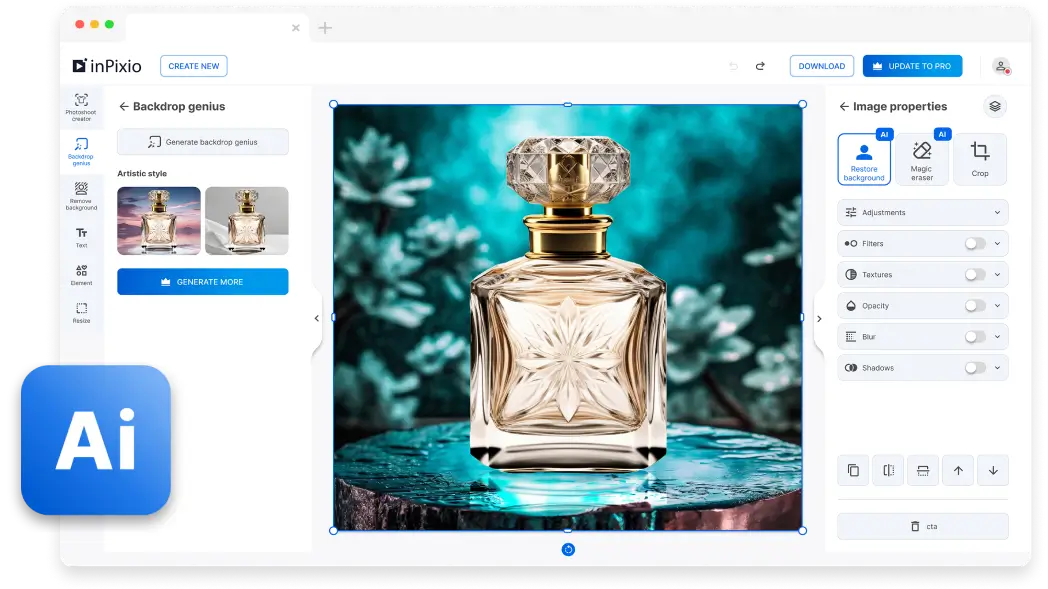
Online photo editor
Instant editing, no installation required!
Make quick and professional photo edits with the help of AI!Perfect for small entrepreneurs and those who value speed and convenience.

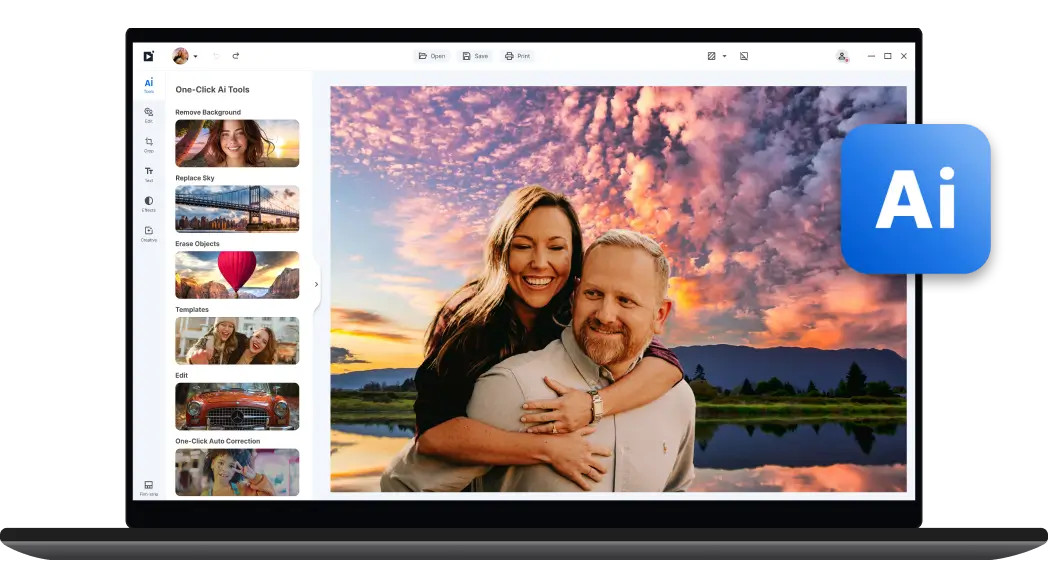
Windows software
Full control, anytime, anywhere!
Quickly make complex edits with AI and enjoy the freedom to work offline. Remove objects, replace skies, and more - ideal for photo enthusiasts and professionals alike.

Professional photo editing made simple!
Instant background removal
Discover inPixio's powerful background remover! Our AI tool outperforms the competition, delivering clean images with a single click, even when handling intricate details.

Captivating AI-generated backgrounds
Unleash your creativity and create stunning backgrounds with the power of AI. Craft dreamlike composites, change the sky, or swap out dull backdrops for beautiful landscapes in seconds.
Effortless object removal
Say goodbye to unwanted elements in seconds.
Our AI-powered magic eraser seamlessly reconstructs the area behind erased objects while preserving image quality.

Discover all our photo editing tools!
Modify brightness, contrast, add image filters, enhance colors, sharpen details, and change backgrounds in seconds.
Edit on the go with inPixio's app
Our pocket-sized photo editing app is your perfect companion for fast and effortless edits.

To download the app, scan the code using your phone's camera.
Available on IOS


