4 Creative Blur Effects to Blur Pictures
Add a blur effect to images, backgrounds, and more to give your photos a creative touch. Discover 4 easy ways to blur pictures and create a beautiful bokeh look. Want to try it for yourself? Download the free trial of Photo Studio today.
Introduction to blur effects
Photo blur is a versatile effect that can give your photos a professional look. You can blur photos or areas of a photo to control focus and direct the eye to the best parts of your picture.
Blur effects are useful in all kinds of images from portraits to graphics. You can draw attention to your subject by blurring the background. Or you can blur images to add a dreamy creative touch to a picture. Experimenting with the blur tools is an endless source of discovery and fun for creators. Discover our 4 top ways to blur pictures.
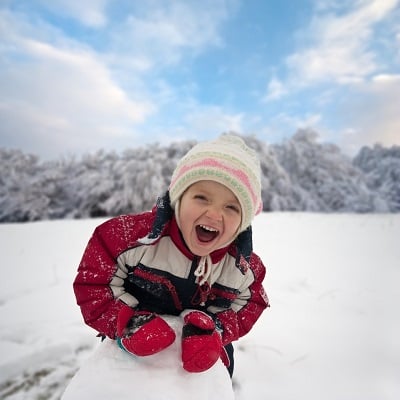 1. Blur image backgrounds
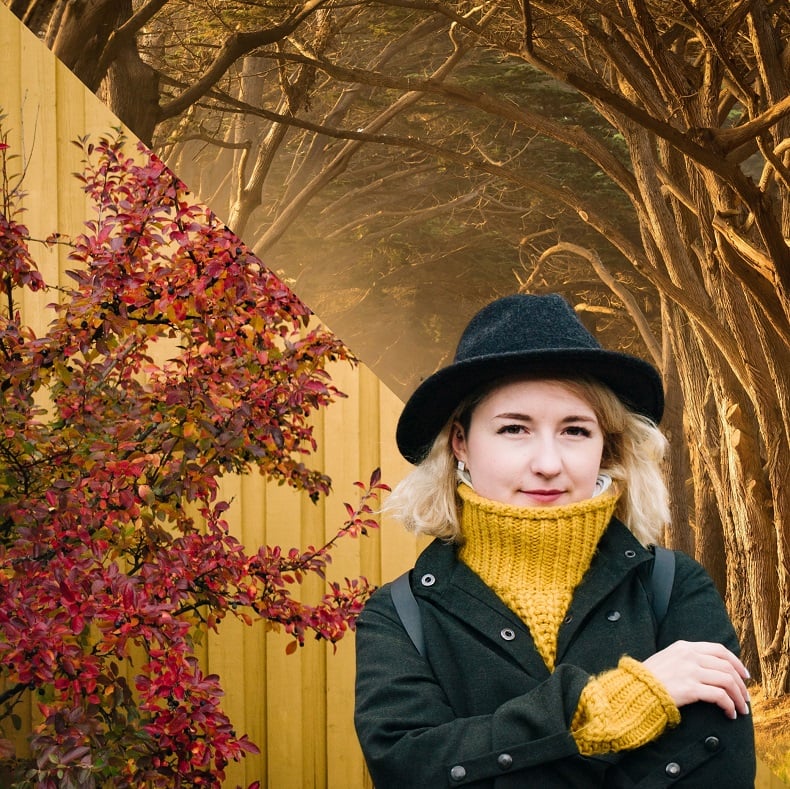
Creating a blurred background is one of the most popular types of blur effect. Photo background blur helps perfectly spotlight the subject of your image. It also helps to cover up distractions in the background.
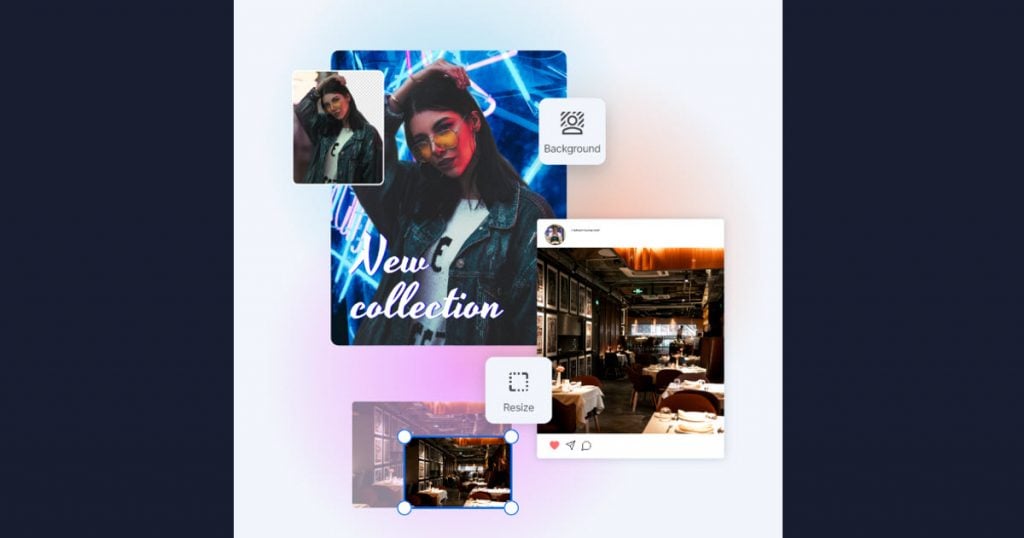
Professional photographers use specific techniques and lenses to achieve this effect. But with a blur photo editor you can blur backgrounds easily and quickly during the photo editing process. Photo Studio uses AI to automatically select your background and blur it instantly.
How to blur a photo background:
- Use the Remove Background tool to automatically select the background
- Check and fine-tune your background selection
- Click “Blur” and select a level of blur
2. Blur pictures and make impressive graphics
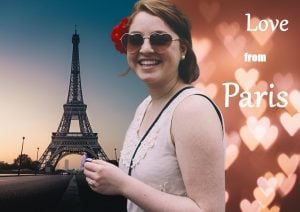
From Instagram quotes to banners and posters, blurred images make a great backdrop. This is because they give context, while also helping to make your text pop! 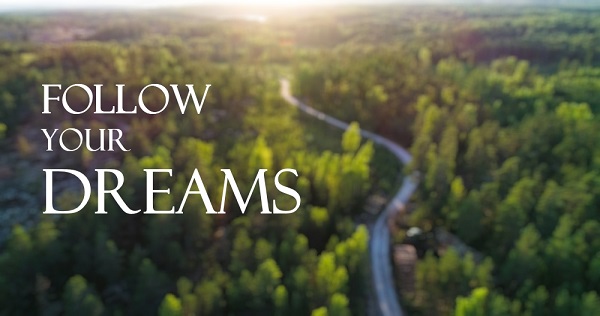 In Photo Studio it only takes one click to blur your entire photo. You can use the sliders to easily adjust the level of blurriness and enhance bokeh brightness. Then switch to the Photomontage tools and add a new text template to your blurred background. Your images will be ready to post in minutes!
How to blur a whole picture:
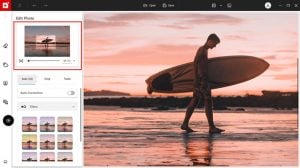
- In the Edit Photo tab click “Effects” and then “Graduated Blur”
- Select “Custom blur”; blur is automatically applied to the entire image
- Increase or decrease the intensity of the effect using the Blur slider
3. Simulate a miniature effect with tilt-shift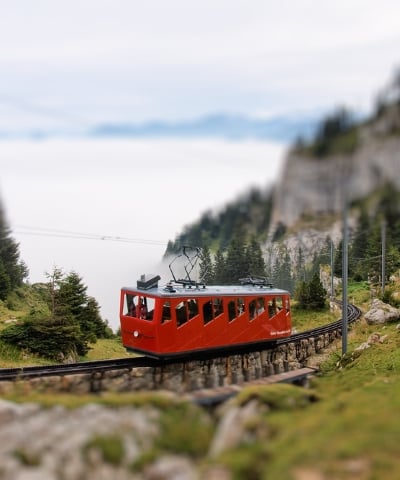
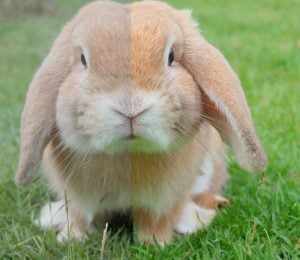
Did you know that you can use blur to create a tilt-shift effect ? Similar to forced perspective photography, this effect makes objects in your photo look like miniature models. The name comes from the camera lenses used to achieve this effect.
Adding blur to the top and bottom of an image helps to simulate shallow depth of field, making the scene look smaller and generating this miniature faking effect.
How to create a miniature effect:
- In “Graduated blur”, select “Linear blur”
- This adds a template to your photo, adjust this to place the focus area over the objects that you want to “miniaturize”
- Adjust the amount of blur in the out of focus areas using the “Blur” slider
4. Focus on one area with custom blur
Similar to background blur, custom blur helps to highlight a specific part of your photo. Custom blur allows you to be even more precise about which areas of the photo to blur and which ones to leave in focus. You can also add bokeh brightness to simulate light sources in the blurred areas of the photo.
How to blur part of a picture:
- In “Graduated blur”, select “Custom blur” (or Radial blur for circular areas)
- Select the Paintbrush tool with the minus sign and adjust the brush size
- Use the paintbrush to deblur areas that you want to keep in focus
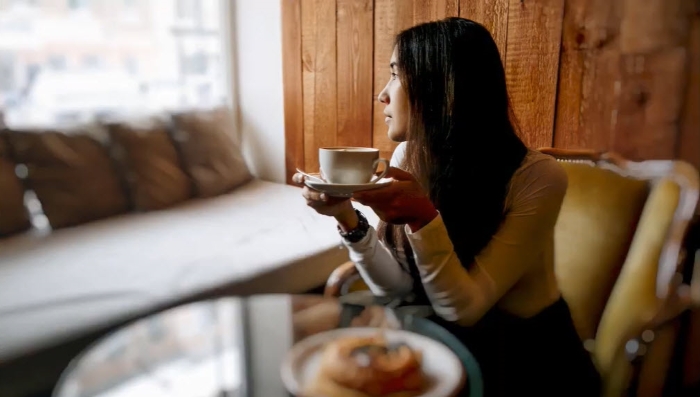
Blur image tools in Photo Studio Pro
Blur background tool (select and blur) 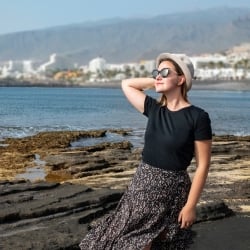
This is the fastest way to achieve a blurred background. Your photo background is selected automatically and a blur effect is added. You can then adjust the amount of blur in the background. Learn how to use the background blur tool.
Radial (circle) blur tool 
With this tool you can create a circular area of focus on an image, while blurring out the rest of the photo. This is an easy way to create shallow depth of field in an image and put the emphasis on the main subject of your picture. You can move and adjust the template to achieve a more distinct or more graduated blur effect.
Vertical (tilt-shift) blur tool 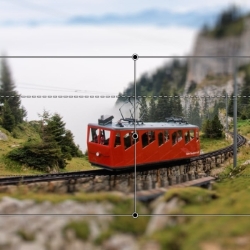
With Vertical blur you can add lines of blur to the top and bottom of your image. Simply drag and drop the template and adjust it to fit your photo. Vertical blur is a quick solution for creating a tilt-shift effect which makes your photo look like a miniature.
Blur image paintbrush (custom blur) 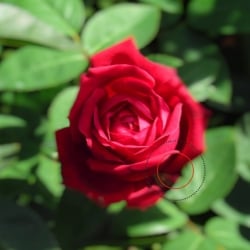
The paintbrush gives you a free hand to choose which areas of the photo you want to blur. The advantage of selective photo blurring is that you have precise control over the sharp and blurred areas of your picture. This means you can focus your image in exactly the way you want. You can blur an entire image or just one part.

